Blurred Lip Look: The Liner and Gloss Method
July 21, 2026 · 9 min read
Written by the MissBiotics Beauty Team — probiotic-inspired beauty specialists.
The short answer
The blurred lip look is a soft, diffused lip built with a liner and a sheer gloss instead of a sharp drawn line. You over-draw the outline by about one millimeter, stipple the pigment inward across the outer third of the lip, blur it with pressure, then add gloss to the center only. It is a two-product look, and at MissBiotics both halves cost $3.99.
What the Blurred Lip Look Actually Is
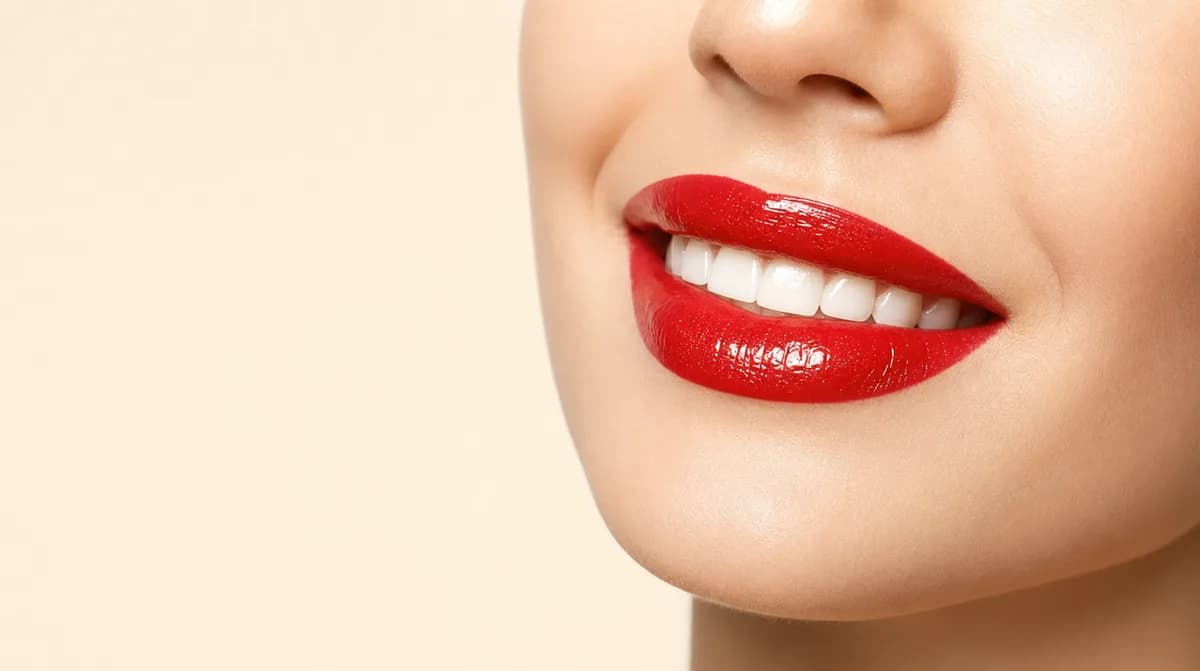
The blurred lip look is a lip finish with no visible outline, built by over-drawing with a pencil and then diffusing that edge until it dissolves into the skin. It replaces the crisp border that defined lip makeup for most of the last decade. Instead of a line, you get a soft halo of color. The mouth reads bitten and warmed, not drawn.
Furthermore, this is a technique shift rather than a product shift. The same pencil that once carved a sharp cupid's bow is now stippled and smudged. Additionally, the finish moved from full matte to a sheer center, which is exactly why gloss and lip oil returned alongside it. As of summer 2026 the two sit together on the same vanity, and the fashion press on both sides of the Atlantic has led its trend reports with them.
In practice, the look sits inside the wider '90s liner revival. That decade's brown-toned pencils are back in the US and the UK at the same time. However, the 2026 version is softer and far less contoured than the original, because the edge is broken rather than drawn.
Additionally, this is a democratic trend. It needs no expensive formula and no unusual pigment. A soft pencil, a sheer gloss and roughly 90 seconds is the entire specification. That accessibility, more than any campaign, is why it spread so quickly.
- No visible outline. Color fades outward over roughly one to two millimeters of skin.
- Liner does the shaping. Gloss does the shine, and only in the middle third.
- Two products, not five, which is why it has spread so fast this season.
- Touch-ups take about 20 seconds and need no mirror discipline.
Why the Blurred Lip Look Replaced the Sharp Line
The sharp lip demanded precision, a steady hand and a complete re-do the moment it wore off. Meanwhile, a diffused edge forgives almost everything. Because there is no edge, there is no edge to break. A liner that feathers slightly over lunch simply reads as more blurred, which is the point. Therefore it survives coffee, conversation and a hot commute better than a drawn line ever did.
The Liner Is the Whole Technique
A blurred lip look lives or dies on how you handle the pencil. The liner is not a border here. It is a pigment source that you place, break down and push inward. Every soft mouth you have admired on a feed this season came from that one shift in handling.
Start with a soft, warm pencil. Draw just outside your natural border, by about one millimeter, at the fullest part of the top and bottom lip only. Do not trace the whole mouth. Over-drawing the corners is precisely what makes an over-drawn lip look over-drawn.
Next, stop drawing and start stippling. Turn the pencil onto its side and tap short, broken dashes inward from the outline toward the center. Cover roughly the outer third of each lip. Leave the middle bare, because that gap is where the gloss goes later.
Then blur. Press, do not sweep. A sweeping motion drags pigment sideways and creates a smear, whereas pressing diffuses it in place. Work from the outside in, never the reverse, so you never push color past your intended edge.
- Prep: exfoliate gently, apply balm, then blot after five minutes.
- Over-draw one millimeter outside the natural border, center of the lip only.
- Stipple inward across the outer third with the side of the pencil.
- Blur with pressure, outside to inside, in short taps.
- Add sheer gloss to the middle third and press the lips together once.
The three-pass rule
At our New York and London counters we teach the same three passes to everyone. Pass one is the over-draw. Then comes the stipple. Finally, the blur. If the result looks patchy, you blurred too early, so go back, add pigment and blur again. Most people under-apply and over-blur, which leaves a faint stain rather than a shape.
Choosing Your Two Shades
This technique needs exactly two shades, and the relationship between them matters more than either shade alone. Rule one: the liner sits one step deeper than whatever goes on top. Rule two: both should live in the same undertone family.
One step deeper means one visible shade darker, not three. For example, a brown-rose liner under a clear gloss is a step. A near-black liner under a nude gloss is a costume. That gap is the difference between a blurred lip and a 1997 photograph.
- Fair and cool: rosewood liner with a clear gloss.
- Fair and warm: terracotta liner with a peach-toned oil.
- Medium: brown-rose liner with clear or pink jelly gloss.
- Deep: espresso or wine liner with a high-shine clear gloss.
Undertones, honestly
Cool undertones suit berry, plum and rosewood liners. Warm undertones suit brick, terracotta and true brown. Neutral undertones can borrow from either, though a soft brown-rose remains the most universally flattering place to start.
Deeper skin tones usually need a genuinely deep liner, such as chocolate, wine or espresso, for the blur to register at all. A mid-brown pencil that reads beautifully on fair skin can simply vanish. Therefore we always test the pencil on the lip itself, never on the back of the hand.
Meanwhile, two shades drawn from different undertone families read muddy rather than soft. Keep both warm, or keep both cool. That single discipline does more for the finish than any technique.
Blurring Tools: Fingertip, Sponge or Brush
Three tools blur pigment, and they do not blur it equally. Your choice changes the softness of the finished edge by a surprising amount.
A fingertip is the fastest and warmest option. Body heat softens the wax in a pencil, which is why a finger diffuses more readily than any brush. However, it is also the least precise, so it suits an already-soft shape rather than a corrective one.
A small sponge gives the widest, mistiest halo. Use the pointed end of a blender, barely damp, and bounce it along the edge. In practice this is the most forgiving tool for anyone attempting the technique for the first time.
A dense synthetic brush gives the most control and the tightest blur. Meanwhile, it also lifts more pigment than the other two, so expect to rebuild color once before you are finished.
Whichever tool you choose, clean it often. Wax and pigment build up fast, and a loaded sponge smears rather than diffuses. We rinse ours after every second use. In practice, a clean tool is the cheapest upgrade this technique can get.
The pressure that actually diffuses pigment
Pressure, not motion, is what breaks a line. Press straight down, hold for a second, lift, then move along. Five to seven presses along the top lip and the same along the bottom is usually enough. If you catch yourself rubbing, stop. Rubbing lifts pigment off and irritates the thinnest skin on the face.
Making It Last Through a Summer Day
Here is the honest constraint. The vermilion of the lip has no oil glands of its own and draws most of its moisture from saliva and from whatever you apply. Published research on lip barrier function describes that thin stratum corneum as lacking both salivary and sebaceous glands. Therefore anything you wear there sits on a surface that is dry, mobile and easily disturbed.
That is also why gloss migrates in heat. Warm weather thins the oils in a gloss, and a thinner oil travels. Additionally, the fine lines around the mouth behave like channels. Blot before you gloss, keep the gloss to the middle third, and migration largely stops being a problem.
Blot, re-blur, repeat. Press a tissue to the lips after eating, then push the remaining pigment back inward with a fingertip instead of reaching for the pencil. Most people over-correct and end up with a heavier mouth at 4pm than they left the house with at 8am.
Prep matters more in July than in January. Dermatologists recommend a lip balm with SPF 30 or higher and reapplication every two hours outdoors, and the American Academy of Dermatology notes that consistent lip care usually brings noticeable improvement within two to three weeks. Smoother lips hold a blur; flaking lips scatter it. Therefore a diffused mouth asks slightly more of your prep than a satin lipstick does.
If your whole face is struggling in the heat, the fix sits upstream of your mouth. Our guide to stopping makeup melting in heat covers the base work that keeps a soft edge from sliding.
- Exfoliate twice a week at most, and never pick or peel flakes away by hand.
- Choose fragrance-free balms. Menthol, camphor and salicylic acid can irritate dry lips.
- Blot before gloss, not after, or you simply lift the shine straight off.
- Carry the liner rather than the gloss, because pigment fades first.
Who It Flatters and What It Will Not Do
The blurred lip look flatters almost everyone, which is genuinely rare in makeup. Thin lips gain apparent width. Full lips gain softness. Uneven lips gain symmetry, because a diffused edge conceals asymmetry far better than a drawn one ever could.
One customer at our London counter had spent years avoiding lipstick because her upper lip is noticeably thinner than her lower. We gave her a brown-rose pencil, over-drew the top by one millimeter, blurred it with a sponge and left the bottom almost bare. The mouth balanced instantly. She bought the pencil and nothing else, which is the entire economics of this trend.
That said, we owe you the limitations. It will not add real volume. Over-drawing by a millimeter creates an optical suggestion of fullness, not fullness itself. Anyone expecting a filler effect from a $3.99 pencil will be disappointed.
It is also not a long-wear look. A blurred edge is a soft edge, and soft edges move. Expect roughly three to four hours before your first touch-up, and less if you are eating. Furthermore, the gloss in the center is the first element to go, often inside an hour.
Age is no barrier, though. A diffused border tends to suit mature lips better than a drawn one, because a hard line settles into the fine lines around the mouth and draws attention to them. However, the drier the lip, the more balm this finish demands beforehand.
- It will not plump. The fullness is optical and it disappears in profile.
- Expect at least one touch-up before eight hours are out.
- Flaking lips defeat it, so spend two weeks on balm first.
- Photographs read softer than they would with a drawn lip, which is rather the point.
How MissBiotics Can Help
This is a two-product basket, and that is the whole appeal. At MissBiotics both halves cost $3.99, so the entire trend costs less than one prestige lipstick.
Start with the Nabi Lipliner Pencil in brown at $3.99. It is soft enough to stipple without dragging, which is the single most important property in a blurring pencil.
For more pigment beneath the blur, tap on a matte base first. The Nabi Long Lasting Matte Lip in Natural suits a nude blur, while the same formula in Plum gives you the berry-stained version. Both are $3.99.
Finish the center with shine. The Ultra Shine Lip Gloss in Clear Jelly costs $2.99 and adds no color of its own, so it never fights the liner. For a more comfortable finish, the S.he Lip Oil is $3.99, and the S.he Sparkle Lip Oil at $5.99 lays a fine shimmer over the middle third.
Prep with the S.he Lip Scrub at $3.99, used twice a week at most, followed by the S.he Lip Balms at $3.99. For blurring itself, the Celavi Macaron Beauty Sponge Set at $5.99 gives you the pointed tips that do this job properly. Browse the rest of the MissBiotics lip collection if you want to build a full shade wardrobe, because everything this technique needs sits in that one category.
Because the mouth stays soft here, the eyes usually carry the definition. If you are finishing with lashes, our note on how long false lashes last explains how many wears to expect from a single pair. Meanwhile, if you want the whole routine to stay short, the ten quiet minutes ritual is where this technique belongs.
Conclusion: The Soft Edge, Kept
The blurred lip look is the defining lip of summer 2026 because it asks for less and forgives more. Over-draw by a millimeter. Stipple inward across the outer third. Blur with pressure rather than motion. Gloss the center and stop there.
It will not plump your lips and it will not last all day, and we would rather tell you that now than sell you a promise. What the blurred lip look will do is make a mouth look softer, fuller and less made-up in about 90 seconds, for under ten dollars.
Ready to build it? Explore the full MissBiotics lip range, or book a free virtual consultation and we will match your liner and gloss to your undertone in one sitting.
Questions, answered
What is the blurred lip look?+
The blurred lip look is a lip finish with a soft, diffused edge instead of a sharp drawn outline. You over-draw slightly with a liner, stipple the pigment inward, blur the border, then add sheer gloss to the center. The result reads bitten and lived-in rather than precisely painted.
How do you blur lip liner without it looking patchy?+
Add more pigment before you blur, not less. Patchiness almost always means you blurred too early or swept sideways instead of pressing down. Stipple across the outer third of the lip, then press straight down with a fingertip or damp sponge, working outside to inside.
What color lip liner should I use for a blurred lip?+
Choose a liner one visible shade deeper than your gloss, in your own undertone family. Cool undertones suit berry, plum and rosewood. Warm undertones suit brick, terracotta and true brown. Deeper skin tones generally need a chocolate, wine or espresso pencil for the blur to show.
Do you put gloss on top of a blurred lip?+
Yes, but only on the middle third of the lip. Gloss across the whole mouth dissolves the diffused edge you just created and encourages migration in hot weather. A clear jelly gloss or a lip oil in the center gives dimension while leaving the blur intact.
How long does a blurred lip last?+
Expect about three to four hours before your first touch-up, and less if you eat or drink. The gloss in the center usually fades within an hour. Blot with a tissue, press the remaining pigment back inward with a fingertip, and re-gloss rather than redrawing the liner.
Does a blurred lip make your lips look bigger?+
It creates the appearance of fullness, not actual volume. Over-drawing by roughly one millimeter and diffusing the edge widens the perceived shape, especially on thin or uneven lips. However, no pencil adds real volume, and the effect disappears when your lips are seen in profile.
Can I do a blurred lip on dry or chapped lips?+
Not well, because pigment clings to flaking texture and the blur turns uneven. Spend two weeks on a fragrance-free balm first, exfoliate gently no more than twice weekly, and use SPF 30 or higher on the lips outdoors. If dryness, soreness or cracking persists, please see a dermatologist or your GP rather than treating it with cosmetics.
Sources & further reading
- American Academy of Dermatology — how to heal dry, chapped lips, including SPF 30+ and reapplying every 2 hours
- Cleveland Clinic — lip anatomy: the vermilion has no oil or sweat glands and relies on external moisture
- Cleveland Clinic — why fragrance-free balms suit chapped lips and why peeling flakes off is a bad idea
- NHS — sore or dry lips: petroleum jelly or beeswax balm, SPF, and when to see a GP
- National Library of Medicine (PMC) — lip barrier study describing the thin lip stratum corneum devoid of salivary and sebaceous glands