Do You Need Eyelash Glue for Strip Lashes? Here's the Truth
October 31, 2026 · 9 min read
Written by the MissBiotics Beauty Team — probiotic-inspired beauty specialists.
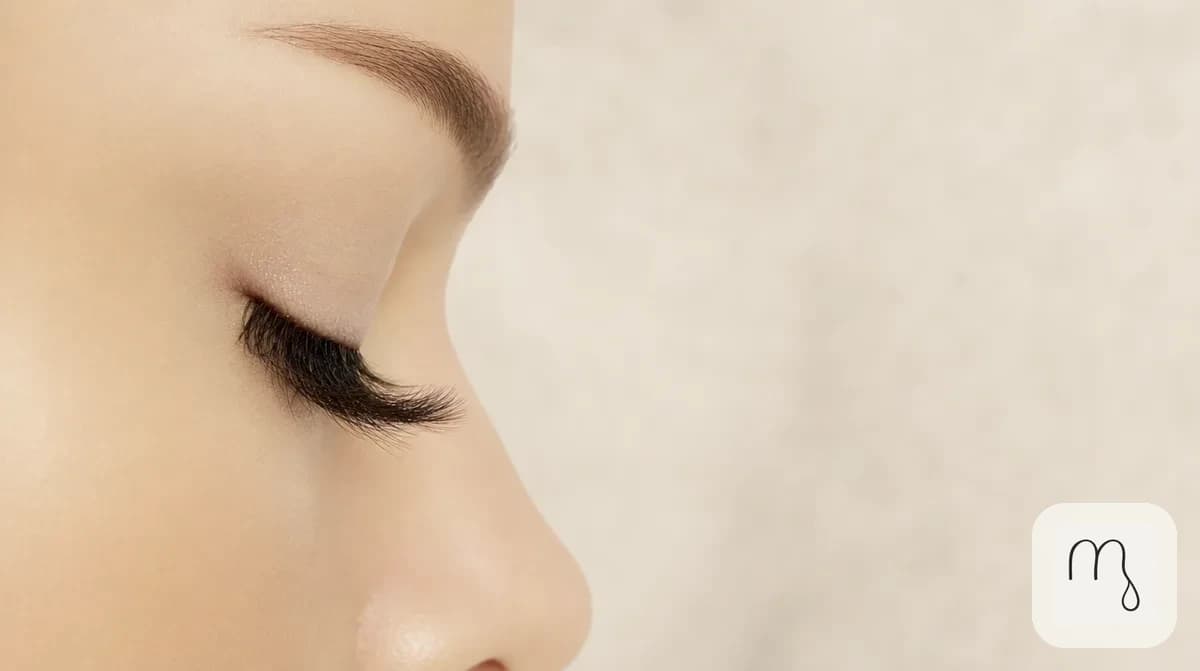
Strip lashes rely on a thin, even line of adhesive along the band — too much or too little changes how long the set actually holds.
The short answer
Yes — do you need eyelash glue for strip lashes is a question with a simple answer: strip lashes are built with a bare band, not a pre-glued one, so a dedicated eyelash adhesive is what actually holds them in place. A thin, even line applied to the band and left to turn tacky for 30 to 60 seconds before placement is the difference between a set that lasts all day and one that lifts within the hour. Clear and black formulas work the same way; the choice is purely about which blends better with your own liner.
Do You Need Eyelash Glue for Strip Lashes? The Short Answer
Do you need eyelash glue for strip lashes to actually work? Yes, every time. A strip lash arrives as a curved band of lash fibers with nothing sticky along its edge. Without an adhesive, it simply sits loose against the lid and falls off within minutes. For example, even a perfectly curled, well-fitted strip lash won't hold through a few blinks on its own.
That single fact surprises a lot of first-time wearers. Many assume a lash set works the way a sticker does, straight out of the package. Instead, the band itself is just fiber and thread. It's the adhesive, applied separately, that does all the actual holding. Importantly, that's true whether the lash is a budget set or a premium handmade one; the fibers themselves hold no stickiness at all.
Do You Need Eyelash Glue for Strip Lashes in Every Single Case?
Yes, with one caveat worth naming clearly. Some specialty lash products on the market are sold pre-coated with their own adhesive strip, marketed as a glue-free shortcut. However, MissBiotics doesn't carry that style of lash. Every strip lash sold here, including our Amina Human Hair Eyelashes, needs a separate adhesive applied at home for every single wear. Consequently, choosing a reliable adhesive is just as important as choosing the lash style itself.
How Strip Lash Adhesive Actually Works
Lash adhesive is a fast-drying, flexible polymer designed to bond fiber to skin without damaging either one. Most formulas go on wet, then turn tacky within 20 to 60 seconds as the solvent evaporates. That tacky stage, not the fully wet stage, is actually the best moment to press the lash into place. Notably, the same basic chemistry applies across nearly every strip-lash adhesive on the market, regardless of brand or price point.
Applying the lash too early, while the glue is still fully liquid, tends to cause slipping and uneven placement. Waiting too long, on the other hand, lets the adhesive dry past its tacky window, which weakens the bond significantly. Therefore, that narrow middle window matters more to a lasting application than almost any other single step.
A sealed bottle of eyelash glue typically stays usable for several months, but once opened, air exposure starts to thicken the formula over time. In practice, a glue that's turned noticeably stringy, clumpy, or slow to dry has likely passed its useful life, even if the bottle still has product left in it. Thinning old glue with water isn't a safe fix; replacing it outright is the better call, since a weakened or contaminated formula applied near the eyes isn't worth the risk it introduces.
Choosing the Right Eyelash Glue: Clear, Black, or Glue-Liner
Clear eyelash glue, like the Nabi Clear Waterproof Eyelash Glue ($6.99) or S.he Clear Waterproof Eyelash Glue ($6.99), dries transparent. It works well under any eyeliner color, or with no liner at all, since there's no risk of a visible dark line peeking through. For instance, it's a reliable default for daytime looks or lighter makeup. Ultimately, clear glue is the safer first purchase for anyone still experimenting with different liner colors.
Black formulas, such as the Nabi Black Waterproof Eyelash Glue ($6.99) or S.he Black Waterproof Eyelash Glue ($6.99), blend seamlessly into a black liner or winged eye look, where it doubles as extra definition along the lash line. Meanwhile, a glue-liner hybrid like the Nabi Eyelash Glue Liner - Black ($6.99) combines both steps into one product, applying liner and adhesive together in a single swipe. Importantly, none of these formulas perform differently in terms of actual hold; the choice is purely cosmetic.
Sensitive eyes are a separate consideration entirely. The ifullash White Lash Adhesive ($6.99) and the Nabi Eyelash Glue Liner - White ($5.99) are both designed for a gentler profile, which can be worth trying for anyone who has reacted to a standard formula before. Notably, switching formulas is a reasonable first step before giving up on strip lashes altogether, since not every reaction repeats across every brand.
Step-by-Step: Applying Strip Lashes With Glue the Right Way
Start by trimming the lash band to match your own eye width, then curl your natural lashes first so the strip blends in cleanly. Next, apply a thin, even line of adhesive along the entire band, keeping it as close to the edge as possible without letting it pool. Additionally, hold the band slightly away from your face while the glue turns tacky, rather than resting it directly against the skin too early.
Wait roughly 30 seconds for the glue to turn tacky. Then, starting from the inner corner, press the band down along the natural lash line, working outward toward the outer corner. Finally, press gently along the full length for a few seconds to set the bond. Check the outer corner specifically afterward, since that's where lifting shows up first.
Our team at MissBiotics counters in New York and London fields this exact question constantly, and the fix is almost always the same: thinner glue lines, applied closer to the band's true edge, outperform thick ones every time. In fact, a thick bead of adhesive actually dries slower and holds worse, not better, which trips up a lot of people trying to get extra security. Moreover, that same thin-line approach makes a set easier to remove cleanly at the end of the day.
Lash Glue Safety Around Your Eyes
Because lash adhesive sits so close to the eye, the FDA classifies false eyelashes and their glues as cosmetics that fall under eye-area safety rules, noting that reactions in this specific area can be more troublesome than reactions elsewhere on the face (FDA eye cosmetic safety). In practice, that means patch-testing a new formula on the inner arm 24 hours before a first full application is genuinely worth the extra step, not just a box to tick.
Irritation or allergic reactions around the eyes can resemble conjunctivitis, which the NHS describes as redness, watering, or a gritty feeling that can come from infection, irritants, or an allergic response (NHS conjunctivitis causes). Similarly, Mayo Clinic's guidance on blepharitis notes that eyelid irritation can be aggravated by product buildup along the lash line over time (Mayo Clinic blepharitis). The FDA's own consumer guidance adds a simple but easy-to-forget rule: never assume a product is reaction-free just because it's labeled hypoallergenic (FDA cosmetics tips for women). Additionally, washing hands thoroughly before application reduces the chance of introducing unrelated irritants to the eye area during the process.
If redness, swelling, or persistent itching shows up after wearing a lash set, removing the lashes and washing the area is the right first move. Anyone with symptoms that don't clear up within a few days should see a doctor rather than simply switching lash brands, since lingering irritation is worth ruling out properly. In addition, keep adhesive on the band itself rather than directly on the eyelid skin; a secure bond doesn't require touching the lash line with raw glue. For instance, a careful, thin application along the band holds just as well while staying further from sensitive eyelid skin.
What Happens If You Skip the Glue?
Pressing a strip lash on without adhesive, even briefly to check the fit, almost never holds for more than a few seconds. The band has no tack of its own, so it lifts the moment you blink. Consequently, this is also why sizing and trimming the lash before adding any glue matters: it's much easier to judge fit on a bare band than to redo glue application after a bad first attempt. That said, a quick dry test-fit before any glue touches the band is still worth doing every time.
Some people try pressing a strip lash directly against wet mascara instead of proper adhesive, hoping it will hold. It won't, at least not reliably, and mascara isn't formulated for that kind of bond. Instead, a dedicated adhesive, even a small travel-size one kept in a bag for touch-ups, is the only dependable way to keep a strip lash in place for a full day or night out. Similarly, double-sided tape and other household substitutes carry the same problem: they aren't formulated for skin contact near the eyes, and the risk simply isn't worth the shortcut.
Lash Glue Mistakes That Shorten Wear Time
Using too much adhesive is the single most common mistake. Importantly, a thick, visible bead doesn't bond better; it just takes longer to dry and tends to squeeze out from under the band once pressed down, which can irritate the lid. Instead, a thin line is both tidier and, counterintuitively, the stronger bond.
Rushing the tacky stage is the second common error. For example, pressing the lash down the moment glue is applied, while it's still fully wet, almost guarantees slipping before it sets. Waiting the full 20 to 60 seconds feels slow in the moment, but it's the single biggest factor separating a set that lasts all day from one that needs mid-afternoon fixing. Meanwhile, counting slowly to thirty is a simple way to avoid rushing this step out of habit.
Finally, skipping the corners causes more lifting than any other single step. Specifically, the outer corner takes the most movement throughout a normal day, from blinking to rubbing tired eyes. Therefore, pressing that section for a few extra seconds during application, and checking it again before heading out, catches most lifting before it becomes visible. Furthermore, a cotton swab pressed gently at the outer corner for a few seconds works better than a fingertip, since it applies more even pressure across that smaller area.
Removing lashes the wrong way causes a fourth, less obvious problem: it damages the band for future wears. For instance, pulling a lash straight off from the outer corner stretches and distorts the band's shape over time. Instead, gently rolling the band away from the lash line, starting at the inner corner, keeps its shape intact for several more uses. A few extra seconds of careful removal routinely buys several additional wears out of the same set.
How MissBiotics Can Help
For everyday wear, the Nabi Clear Waterproof Eyelash Glue ($6.99) is a dependable, nearly invisible choice, while the Nabi Black Waterproof Eyelash Glue ($6.99) suits anyone pairing lashes with a bold liner look. If you'd rather combine steps, the Nabi Eyelash Glue Liner - Black ($6.99) applies liner and adhesive together.
Pair any of these with the Amina Human Hair Eyelashes - Style 12 ($3.99) for a natural, wearable set, or browse the full range under Lashes. For help with application or picking the right formula for sensitive eyes, our consultation page connects you directly with the MissBiotics team, and our how to apply strip lashes guide covers the full technique in more depth.
Conclusion
The answer stays the same every time: strip lashes need a dedicated adhesive, without exception, since the band itself holds none of its own. The good news is that the technique is genuinely simple once you know it. A thin line, a short wait for tack, and steady pressure from the inner corner outward cover nearly every situation.
Choose clear or black based on your liner, not on hold, since both perform the same once applied correctly. Patch-test a new formula before a full application, and treat any lingering irritation as a reason to see a doctor rather than just switching products. Get those basics right, and a strip lash set holds confidently from morning to night.
Questions, answered
Is eyelash glue required for strip lashes?+
Yes. Strip lashes are made with a bare, uncoated band, so a separate adhesive is what actually holds them against the lash line. Without it, the lash has no way to stay in place beyond a few seconds.
Can I use regular craft glue instead of eyelash glue?+
No. Craft and household glues aren't formulated for skin contact or eye-area safety, and using one near the eyes risks serious irritation. A dedicated eyelash adhesive is formulated specifically for that sensitive area.
Is clear or black lash glue better?+
Neither holds better than the other; the choice is purely cosmetic. Clear glue disappears under any liner color, while black glue blends into a dark liner or adds subtle definition on its own.
How long does eyelash glue take to dry?+
Most formulas turn tacky within 20 to 60 seconds, which is the ideal moment to press the lash into place. Full drying typically takes a few minutes longer, so avoid rubbing the eyes during that window.
Can eyelash glue cause an allergic reaction?+
Yes, it can, which is why patch-testing a new formula on the inner arm beforehand is worth the extra step. Symptoms like redness, swelling, or persistent itching around the eyes are a sign to stop use and see a doctor if they don't clear up quickly.
Can I reuse strip lashes with the same glue application?+
Not the same glue layer. Old adhesive should be gently removed from the band after each wear, and a fresh line applied for the next use, since dried, reused glue holds far less reliably.
Sources & further reading