How to Make Lipstick Last Longer: A Step-by-Step Guide
October 9, 2026 · 9 min read
Written by the MissBiotics Beauty Team — probiotic-inspired beauty specialists.
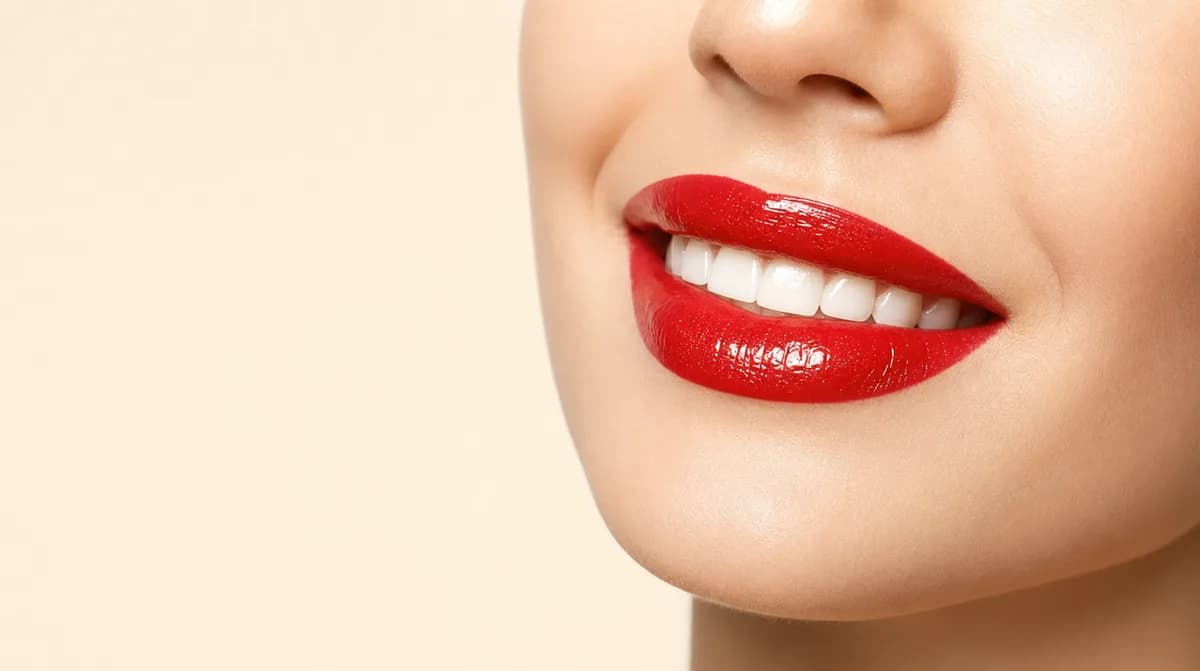
How to make lipstick last longer comes down to four repeatable steps: prep, line, layer, and set.
The short answer
How to make lipstick last longer, in short: exfoliate 2 to 3 times a week, outline with a matching liner to stop bleeding, apply color in 2 thin layers with a blot in between, and finish by pressing a tissue over the lips with a light dusting of translucent powder. This repeatable method can meaningfully extend wear time versus a single swipe of color, and a long-wearing matte formula adds even more staying power on top of the technique.
How to Make Lipstick Last Longer: The Four-Step Method
How to make lipstick last longer comes down to technique more than any single product. Most color fades or migrates for one of three reasons: dry or flaky lip texture, no barrier between skin and pigment, or too much product applied in one heavy layer. Fixing all three at once is what actually extends wear time, rather than relying on one "magic" long-wear formula alone.
Furthermore, the order you do things in matters nearly as much as the products themselves. Skipping straight to color without prepping the lip surface first is the single most common mistake, according to beauty-industry sources discussing this exact question. Therefore, treat the steps below as a sequence, not a menu of options to pick and choose from.
In fact, most of the advice circulating online repeats the same handful of tips: prep, line, layer, and set. However, the order and the specifics of each step make a bigger difference than most tutorials admit. Skipping one step, or doing two of them out of order, is usually why a "long-wear" lipstick still fades by lunch. Additionally, this exact sequence works regardless of which brand or price point the lipstick itself comes from, since the technique addresses the surface it's applied to, not the formula alone. That's genuinely good news for anyone who already has a favorite shade they'd rather keep than replace just to chase better wear time.
How to Make Lipstick Last Longer Starts Before You Pick Up Color
Exfoliation is step zero, and it's the step most people skip. A dry, flaking lip surface grabs pigment unevenly, which causes patchiness within an hour or two. Consequently, a gentle lip scrub two to three times a week keeps the surface smooth enough for color to sit evenly and last longer once applied. Meanwhile, skin elsewhere on the face rarely gets this same treatment before makeup, which is part of why lips specifically need their own separate prep step.
Step One: Prep With Exfoliation and Light Hydration
Start with our S.he Lip Scrub ($3.99) a few minutes before applying any color, giving dead skin a chance to buff away. Rinse or wipe clean, then apply a thin layer of balm. Importantly, thin is the key word here. A heavy, greasy balm layer is one of the most common reasons lipstick slides around rather than sitting still.
Give the balm a minute or two to absorb before moving to the next step. Meanwhile, if your lips still feel tacky or overly shiny, blot gently with a tissue. That extra ten seconds of patience meaningfully improves how the next layers behave.
For example, applying color straight over a wet, unabsorbed balm is a common reason lipstick looks great for the first photo and then slides within the hour. Instead, treat the balm step as prep work that finishes before color starts, not something layered simultaneously with it. Similarly, skip balm entirely if your lips aren't notably dry that day; over-moisturizing before color can be just as counterproductive as skipping it.
Step Two: Outline With a Matching Liner
A lip liner does two jobs at once: it defines the shape, and it creates a light barrier that slows color from bleeding into fine lines around the mouth. Our Nabi Lipliner Pencil ($3.99) works well under most warm-toned lipstick shades for exactly this purpose.
For the most natural base coverage, fill in the entire lip with liner before adding lipstick on top, rather than only outlining the edge. In practice, that filled-in liner layer acts as a tinted undercoat, so even if the top lipstick layer wears away through the day, color remains visible underneath rather than leaving bare, uneven patches.
Additionally, choosing a liner shade close to your natural lip color, rather than matching the lipstick exactly, gives more flexibility. That approach means the same liner works underneath several different lipstick shades, instead of needing a separate liner for every color in a collection. Therefore, one versatile brown-toned liner can realistically support most of a lip-color rotation on its own.
Step Three: Apply in Two Thin Layers With a Blot Between Them
Apply your first coat of color, then blot lightly with a single-ply tissue folded in half. This removes excess product sitting on the surface rather than bonded to the lip. Afterward, apply a second, thinner coat directly on top.
That blot-then-reapply method is one of the most consistently repeated tips from beauty sources covering this exact question, since it's simple and genuinely effective. Our Nabi Long Lasting Matte Lip in Honey ($3.99) is formulated for exactly this kind of layered, long-wear application, and the matte finish resists the transfer that a glossy formula is more prone to.
If you're using a glossier finish instead of a full matte, expect shorter wear time by nature. For example, a glossy lip oil or gloss finish is built for a wet-look shine rather than maximum longevity, so reapplication through the day is simply part of how that texture works, not a sign anything went wrong.
Consider a practical scenario. Someone applying color before a long dinner out might skip the blot step entirely and go straight for a heavy single layer, hoping it lasts longer that way. In practice, the opposite tends to happen. A thick single layer transfers more easily onto glasses and napkins than two thinner, blotted layers do, since excess, unset pigment is exactly what rubs off first. Therefore, resisting the urge to apply more product all at once is one of the more counterintuitive parts of this entire method, even though it's also one of the easiest to actually follow.
Step Four: Set It With Tissue and a Light Dusting of Powder
This step feels counterintuitive the first time, but it works. Place a single-ply tissue over your lips, then lightly press a fluffy brush dusted with translucent powder directly through the tissue. The tissue filters out most of the powder, letting only a light, even dusting settle onto the color underneath.
Consequently, that thin powder layer helps set the lipstick in place without visibly altering the finish, especially on a matte formula that already has minimal shine to protect. Skip this step entirely if your lipstick is already a glossy or satin finish, since powder tends to look chalky over higher-shine textures.
Midday touch-ups are still realistic, even with every step done correctly. If color bleeds slightly at the edges after eating or drinking, a small flat brush dipped in concealer cleans up the line quickly without needing to redo the whole look from scratch.
In short, this setting step is optional rather than mandatory, and it mainly earns its place when you need several extra hours of wear, such as before a long event. For an ordinary day, the first three steps alone usually deliver a noticeably longer-lasting result than skipping straight to color without any prep at all. Save the full four-step version for days when reapplying simply isn't practical, and the lighter three-step version for everything else.
Why This Matters More for Matte Than Glossy Formulas
Matte lipstick formulas generally last the longest, since they contain less oil and wax than glossy formulas, which otherwise encourage slip and transfer. However, matte formulas also show dry lip texture more visibly than a glossy finish does. Therefore, the prep step matters even more when you're reaching for a matte long-wear lipstick specifically.
In contrast, glossy and satin finishes forgive a less-perfect prep routine, but they trade that forgiveness for shorter overall wear time. Neither approach is objectively better; the right choice depends on whether you'd rather prioritize longevity or a lower-maintenance application.
Occasion matters too. For an everyday office day, a satin or sheer formula with quick reapplication is often more practical than a strict matte routine. Meanwhile, for a wedding, a long work shift, or any event where reapplication isn't convenient and a mirror isn't always close at hand, the extra five minutes spent on the full matte method pays off directly in fewer touch-ups later.
Climate plays a role as well, and it's worth adjusting the routine rather than assuming one method works everywhere. In humid weather, a lighter balm layer and a stronger blot are both worth leaning into, since excess moisture and heat both encourage slip. Conversely, in a dry climate or an air-conditioned office, lips dehydrate faster, so the exfoliation and hydration steps earn even more attention than the setting step does. In other words, the four-step method stays the same everywhere; only the emphasis shifts with the weather.
How MissBiotics Can Help
Every product in the four-step method above is something we actually stock. Start with the S.he Lip Scrub ($3.99) for exfoliation, add the Nabi Lipliner Pencil ($3.99) for the outline-and-fill step, and finish with a shade from our Nabi Long Lasting Matte Lip line, including Honey, Plum, or Plush Red, each at $3.99.
For a hydrating base layer before any of this, our S.he Lip Balms ($3.99) work well as the thin, pre-color moisture step described above. If you want the glossier side of the spectrum instead, our lip oil vs lip gloss guide explains the longevity trade-off in more detail, including which situations favor shine over sheer staying power.
For instance, a shopper choosing between Plum and Plush Red for an evening event might reasonably pick based on wear time alone, since both share the same long-wear matte base formula and respond the same way to the four-step method above. Similarly, Natural and Peach suit daytime wear when a lighter finish is the priority, while still holding up to the same prep routine if extra longevity is needed. Meanwhile, the Nabi Long Lasting Matte Lip in Red ($3.99) is a reliable choice for anyone wanting a true, classic red that photographs well under the same technique.
Browse the full range under Lips, or explore our approach on the Rituals page. For a personalized shade and finish recommendation, our team offers a free consultation.
Conclusion
Ultimately, how to make lipstick last longer isn't really a product question, it's a technique question. Exfoliate, line and fill, layer with a blot in between, and set lightly with tissue and powder. Add a genuinely long-wear matte formula on top of that routine, and most color easily holds through a full workday or event without needing a full reapplication. That's a realistic, repeatable system, not a one-off trick that only works once. However, give yourself a full run-through once before relying on it for an important event, since every lip shape and formula behaves slightly differently, and a quick test run removes any guesswork on the day that actually matters. For example, a five-minute practice session the night before costs nothing and prevents any surprises later, especially with a brand-new shade or finish you haven't worn before.
Questions, answered
How do I make lipstick last longer without it feeling dry?+
Exfoliate with a gentle lip scrub beforehand and apply only a thin layer of balm, giving it a minute to absorb before adding color. A heavy balm layer is actually what most often causes lipstick to slide, so thinner is better for longevity.
Does lip liner really help lipstick last longer?+
Yes. Filling the entire lip with liner before adding lipstick creates a tinted base layer underneath, so color stays visible even if the top layer wears away through the day. It also slows bleeding into fine lines around the mouth.
Why does my matte lipstick still come off by lunchtime?+
Usually it's a prep issue rather than the formula itself. Dry, unexfoliated lips and skipping the blot-and-reapply step are the two most common reasons a genuinely long-wear matte formula still fades faster than expected.
Is the tissue-and-powder setting trick actually effective?+
Yes, it's one of the most consistently recommended techniques for extending lipstick wear. The tissue filters the powder so only a light, even layer settles onto the color, helping set it without a visibly chalky finish.
Can I use this method with a glossy lip finish?+
The prep and liner steps still help, but skip the powder-setting step, since powder tends to look chalky over a glossy or satin finish. Glossy formulas are built for shine rather than maximum longevity by nature.
How often should I exfoliate my lips for better lipstick wear?+
Two to three times a week is a reasonable starting point for most people. Daily exfoliation can be too much for sensitive lip skin, so watch for any new sensitivity and scale back if it appears.
What's the fastest fix for lipstick bleeding midday?+
A small flat concealer brush cleans up a bled edge in seconds without requiring a full reapplication. Keep a travel-size concealer on hand for exactly this touch-up.
Sources & further reading