How to Push Back Cuticles Safely at Home
November 3, 2026 · 9 min read
Written by the MissBiotics Beauty Team — probiotic-inspired beauty specialists.
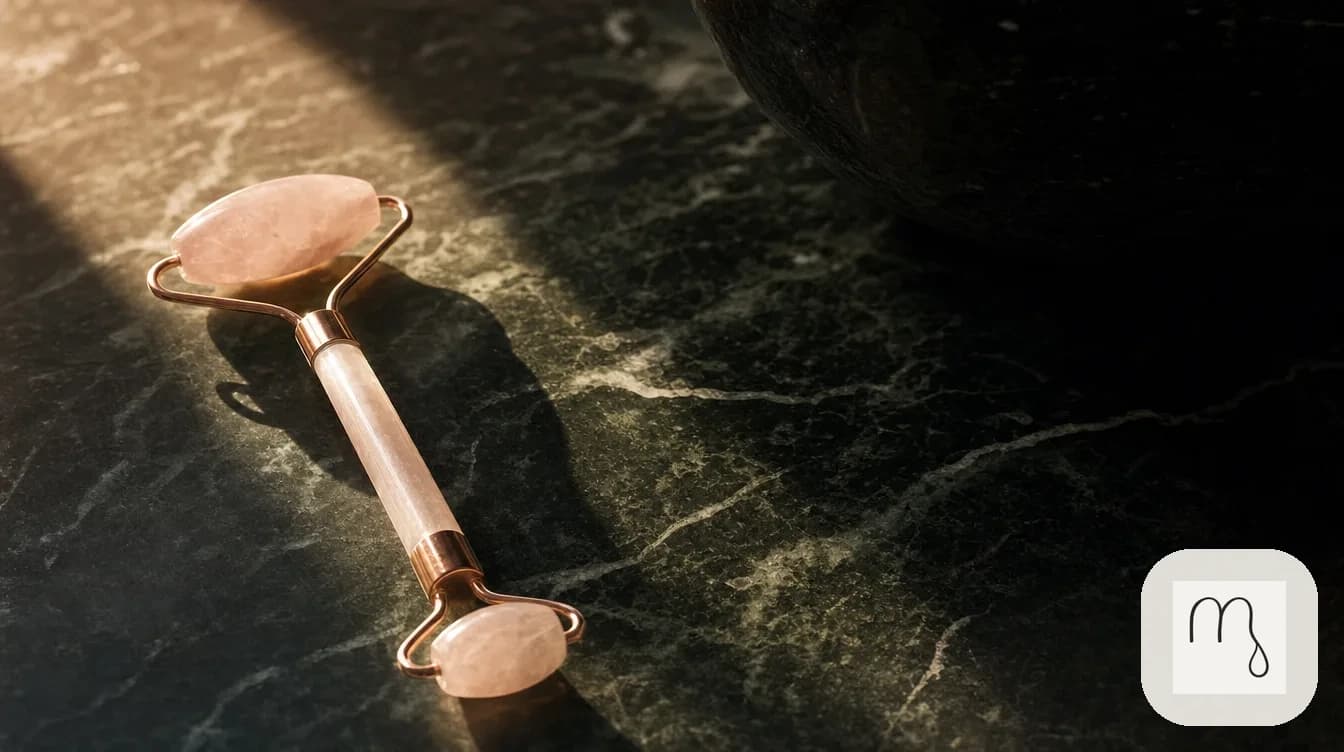
Soft, pushed-back cuticles create a cleaner edge for polish or press-on nails — never cut, just gently eased back.
The short answer
The safest way to push back cuticles safely at home is to soften them first, then ease them back gently — never cut the living skin. Soak your fingertips in warm water for about 5 minutes, or massage in a drop of cuticle oil, before using a rounded pusher. Most people only need to repeat this once every 2 weeks. If skin around the nail turns red, swollen, or starts bleeding, stop and see a professional instead of pushing further.
How to Push Back Cuticles Safely: What Actually Works
You push back cuticles safely by softening the skin first, then easing it back with a blunt-edged tool instead of cutting it. In fact, the American Academy of Dermatology warns against ever cutting or forcefully pushing back cuticles, since broken skin near the nail fold can invite infection. According to AAD's manicure and pedicure safety guidance, cuticles should only be eased back gently, ideally right after a warm shower or bath when skin is already soft. Similarly, Mayo Clinic notes that the cuticle seals the skin to the nail plate, so removing it can raise infection risk. Therefore, the goal at home is gentle pressure, never aggressive trimming. For many people, this one shift, from cutting to gently pushing, is the single biggest change that keeps cuticles neat without causing damage. Moreover, the technique only takes a few extra minutes once it becomes part of a regular nail routine.
The cuticle is a thin layer of skin that grows from the base of the nail fold onto the nail plate itself. Its job is to seal out moisture, dirt, and bacteria that would otherwise sit directly against new nail growth. Importantly, this means a completely bare, cuticle-free border isn't really a healthy goal, even though it's often requested in salons. Instead, a well cared-for cuticle is soft, flat, and only slightly visible, not removed entirely.
Push Back Cuticles Safely Instead of Cutting Them
Cutting live cuticle skin removes a natural barrier around the nail plate. Consequently, bacteria and fungi find an easier path into the surrounding tissue. Mayo Clinic's nail care guide lists cuticle removal as a clear don't, for exactly this reason. Meanwhile, the thin, flaky dead skin sitting on top of the cuticle is a different story — that layer can be nudged back without the same risk. In short, pushing is the safer habit, while cutting living skin is not. Additionally, repeated cutting over months can thicken and roughen the skin around the nail, which becomes even harder to keep neat. For instance, someone who cuts cuticles weekly often ends up with more hangnails, not fewer, because each cut leaves a slightly uneven edge that catches and tears.
Step 1: Soften Skin Before You Push Back Cuticles Safely
Dry, tight cuticles resist a pusher and tend to tear instead of gliding back smoothly. For that reason, softening always comes first. Soak your fingertips in warm, not hot, water for about 5 minutes. Alternatively, massage in a drop of cuticle oil or a thick hand cream for a minute. Both methods work; what matters is that the skin feels pliable before any tool touches it. In practice, many people combine both steps, following a short soak with a dab of oil to lock in extra softness right before the pusher comes out. Furthermore, doing this in the evening, after a bath or shower, uses warmth and humidity you already have on hand.
A thick petroleum-based balm works as a backup when you don't have time for a full soak. Simply smooth a small amount over each cuticle and let it sit for a minute or two before easing skin back. However, this shortcut softens less deeply than a true soak, so save it for quick touch-ups rather than your main routine.
A Simple At-Home Soak Routine
Fill a small bowl with warm water and a few drops of a gentle oil. Soak one hand for 5 minutes, dry it, then repeat with the other hand. Afterward, pat the skin dry instead of rubbing it, so it stays soft rather than irritated. Notably, the AAD specifically recommends easing cuticles back after a shower or bath, which works on the same principle: warm water and steam soften skin naturally. In addition, a few drops of nourishing oil in the soak water can leave skin feeling less tight once you're done. However, avoid water that's uncomfortably hot, since very hot water tends to dry out skin rather than soften it.
For an evening-before routine, try doing this soak the night before a manicure appointment or a press-on application. That way, skin has several hours to fully calm down before anything touches the nail. In practice, this small bit of planning makes the finished manicure look cleaner.
Step 2: Pick the Right Tool and Technique
A dedicated pusher beats a metal nail file edge or, worse, your fingernails or teeth. The Celavi Cuticle Pusher & Trimmer ($3.99) has a flat, rounded end shaped to slide under softened cuticle skin without digging into the nail bed. Hold it at a low angle and use short, light strokes toward the base of the nail. Importantly, you are moving dead skin back, not scraping or carving into it. For best results, work on one or two nails at a time rather than rushing through all ten, since a slower pace gives you more control. Similarly, keep the tool clean between uses, since a disinfected tool lowers the already-small infection risk even further.
Before and after each use, wipe the pusher with rubbing alcohol or wash it with soap and warm water. Consequently, you lower the chance of transferring bacteria between sessions. A dedicated tool kept just for cuticle care, rather than one also used for cleaning or crafts, stays more hygienic over time.
Using a Pusher to Push Back Cuticles Safely, Step by Step
First, dry your hands after soaking so the tool doesn't slip. Next, rest the pusher's flat edge against the cuticle at a shallow angle. Then, use small, repeated strokes to ease the thin skin back toward the nail fold. Finally, stop as soon as the skin resists, since forcing it further is where most at-home damage happens. If the tool's trimmer blade tempts you to snip loose skin, use it only on skin that has already lifted away, never on skin still attached to the nail fold. In other words, the trimmer end is for tidying hangnails, not for carving into the cuticle itself. For example, a small bit of loose skin at the corner of the nail can be clipped, while the smooth cuticle along the base should only ever be pushed.
A pusher that has gone dull or developed a rough edge is more likely to catch skin instead of gliding over it. Therefore, replace an old or damaged tool rather than pushing through with one that no longer glides smoothly. A fresh, smooth-edged pusher makes the whole process noticeably easier.
Step 3: Aftercare That Keeps Cuticles Soft
Pushing back cuticles leaves the skin slightly more exposed for a few hours afterward. As a result, aftercare matters almost as much as the technique itself. Massage cuticle oil or balm into the area right after you finish, then again before bed. Additionally, a quick buff with the Celavi Salon Board ($4.99) smooths rough nail edges left behind, so skin has less to catch on later. For the rest of the day, try to keep hands away from harsh cleaning products or very hot dish water, since freshly pushed-back skin is a little more sensitive than usual.
Moisturizing Between Sessions
In practice, daily moisturizing does more for cuticle health than any single pushing session. Rub lotion or oil into your cuticles whenever you moisturize your hands, since Mayo Clinic's nail care tips recommend treating cuticles the same way you treat the rest of your hand's skin. Over time, consistently soft cuticles are easier, and safer, to push back the next time around. Ultimately, a short daily habit does more for long-term nail health than an occasional intense session ever could.
Look for a balm or oil with simple, nourishing ingredients such as shea butter, vitamin E, or a light plant oil. Similarly, avoid products marketed mainly for removing or dissolving cuticle skin, since those work by softening the cuticle enough to strip it away entirely. Moisturizing should support skin, not remove it.
How Often Should You Push Back Cuticles Safely?
Most people only need to repeat this routine once every 2 weeks, or right before a fresh manicure or a new set of press-on nails. However, there's no need to rush it, since cuticles don't need daily attention. In fact, pushing them back too often can irritate skin that hasn't fully recovered from the last session. Instead, let the surrounding skin fully settle before you repeat the process. Meanwhile, if your cuticles already look soft and flat, there's no rule that says you must push them back on a fixed schedule.
For instance, if you're prepping for the right size press-on set, doing this step the night before gives any slight redness time to calm down. As a result, your nails look tidy for photos or events without any visible irritation around the edges.
When to Stop and See a Professional
At our New York and London counters, we routinely see cuticles that have been over-trimmed rather than gently pushed back, and the skin almost always looks irritated and uneven afterward. That said, home care has real limits. This technique will not fix an ingrown nail, and it will not resolve an existing infection; those need a dermatologist, podiatrist, or GP. Cleveland Clinic describes this kind of infection, called paronychia, as swelling, redness, and sometimes pus around the nail fold, often starting from a small break in the skin. Consequently, if you notice bleeding that won't stop, spreading redness, warmth, or any discharge, stop pushing and get it checked instead of continuing at home. Furthermore, people with diabetes or circulation issues should be especially cautious with any at-home cuticle work, since minor skin breaks can be slower to heal.
A Quick Example
Picture finishing a soak-and-push routine before a weekend trip, only to notice the skin beside one nail is throbbing and puffy the next morning. In that case, the right move is a same-week visit to a GP or dermatologist, not a second round of pushing. Early attention keeps a small irritation from turning into something that needs antibiotics. In short, a day or two of extra soreness that keeps getting worse, rather than better, is the signal to stop managing it yourself.
How MissBiotics Can Help
MissBiotics carries the prep tools that make it easier to push back cuticles safely at home, without ever reaching for anything sharp. The Celavi Cuticle Pusher & Trimmer ($3.99) is built for exactly the gentle, low-angle technique dermatology sources recommend. Meanwhile, the Celavi Salon Board ($4.99) and the Celavi Banana Salon Board ($4.99) help smooth nail edges once cuticles are prepped, so skin has less to catch on. For instance, a quick buff right after pushing back cuticles leaves the whole nail looking finished, not just the edge near the skin.
For pedicures, the Celavi Deluxe Pedicure Set ($12.99) covers toenail cuticle care too, and pairs well with our at-home pedicure steps guide. Additionally, if you're prepping nails for a press-on set like Te Amo French Polish Nails ($3.99), softened, gently pushed-back cuticles give the edges a cleaner, more finished look before application. That combination, soft cuticles plus a smooth nail edge, is exactly what a tidy press-on manicure needs.
Conclusion
Ultimately, the safest approach is simple: soften first, then ease skin back gently, and never cut living cuticle. You now have a 5-minute soak, the right tool, and an aftercare routine to keep cuticles soft between sessions. In other words, consistent gentle care beats any aggressive quick fix. If redness, swelling, or bleeding shows up, pause and see a professional instead of pushing further. For most people, though, a simple soak-and-push habit is all it takes to keep cuticles looking neat between manicures.
Ready to build your at-home nail-prep kit? Shop nail prep tools or book a consultation if you want a routine tailored to your nails.
Questions, answered
Can you cut your cuticles?+
Cutting live cuticle skin is not recommended by dermatologists. The AAD and Mayo Clinic both advise against it, since cutting removes a seal that helps protect against infection. If there's hanging, already-loose skin, a sanitized trimmer can remove just that piece. Otherwise, gently pushing the skin back is the safer routine.
How often should you push back cuticles?+
Most people only need to push back cuticles safely about once every 2 weeks. That timing lines up with a typical manicure or press-on nail refresh. Doing it more often can irritate skin that hasn't fully recovered. Instead, focus on daily moisturizing between sessions.
Does pushing back cuticles hurt?+
Done gently on softened skin, pushing back cuticles shouldn't hurt. Some mild tenderness can happen if skin is pushed too far or too dry. Soaking first and using light pressure keeps the process comfortable. If it stings or bleeds, stop immediately.
What's the best tool to push back cuticles safely?+
A dedicated cuticle pusher with a rounded, flat edge is the best choice. Tools like the Celavi Cuticle Pusher & Trimmer ($3.99) are shaped to slide under softened skin without digging into the nail bed. Metal nail files and sharp scissors aren't designed for this and raise injury risk. Always use a clean, dedicated tool.
Should you soak your cuticles before pushing them back?+
Yes, soaking softens cuticle skin so it eases back instead of tearing. A 5-minute warm water soak, or a drop of cuticle oil, works well. The AAD recommends pushing cuticles back after a shower or bath for the same reason. Skipping this step makes the skin more likely to crack.
Can pushing back cuticles cause an infection?+
Pushing back cuticles carries less infection risk than cutting them, but it isn't risk-free. Breaking the skin, even slightly, can let bacteria in, which lines up with Cleveland Clinic's description of paronychia. Using a clean tool and gentle pressure keeps that risk low. Still, any resulting redness or swelling should be checked by a professional.
When should you see a doctor about your cuticles?+
See a dermatologist, podiatrist, or GP if cuticles become red, swollen, bleeding, or show any discharge. These can be signs of an infection called paronychia, which needs medical attention rather than more at-home pushing. Cleveland Clinic notes that untreated infections can occasionally spread deeper into the finger or toe. Don't wait if symptoms are getting worse instead of better.
Sources & further reading